Creating an SPL application or project
Learn the difference between a starter SPL application and a project and create them from scratch.
Key differences
SPL Application: A minimal structure containing:
- A namespace directory
- An SPL file with a main composite (a composite operator with no inputs or outputs)
- An
info.xmlfile with metadata about the application
When to create an application
Create an application if you want to try out development, prototype behavior, or test simple applications.
SPL Project: A full application directory containing an SPL application and additional subdirectories for organizing artifacts like:
- Data files
- Configuration files
- Custom operators
- External dependencies
When to create a project
Create a project if you're developing a production application or one that requires custom operators, configuration, and other supporting files.
Creating an SPL application
- Right-click in an editor or File Explorer
- Hover over
SPL Project - Click
Add SPL Applicationto open a wizard form - Fill in the namespace and main composite name details
- Click the
Create Applicationbutton
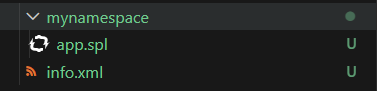
In the current workspace, a directory (named after the namespace) will be created and an SPL file (named after the main composite) will reside within it. Additionally, an info.xml file will be created if one does not already exist. This file contains metadata about your application including the version and a description.
Example: Created application
Creating an SPL project
- Right-click in an editor or File Explorer
- Hover over
SPL Project - Click
Create SPL Projectto open a wizard form - Fill in the project name, namespace, and main composite name details
- Click the
Create Projectbutton
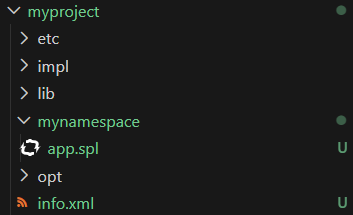
In the current workspace, an application directory (named after the project) will be created along with several subdirectories and an info.xml file.
To know more about a project's structure and the various subdirectories, see Application directory files and structure in the product documentation.
Example: Created project
Next steps
Open the newly created SPL file and explore the features provided by the SPL language server.